
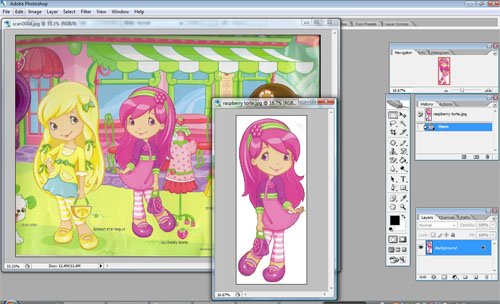
Scan your desired picture or simply get one from the net, and do the necessary editing in photoshop. I scanned the picture of Raspberry Torte from a poster and erased the background. Next, we have to MIRROR THE IMAGE, this is very important if your picture contain wordings, as the final applique will be a mirror image of what you are going to print out. You will understand better as you read along.
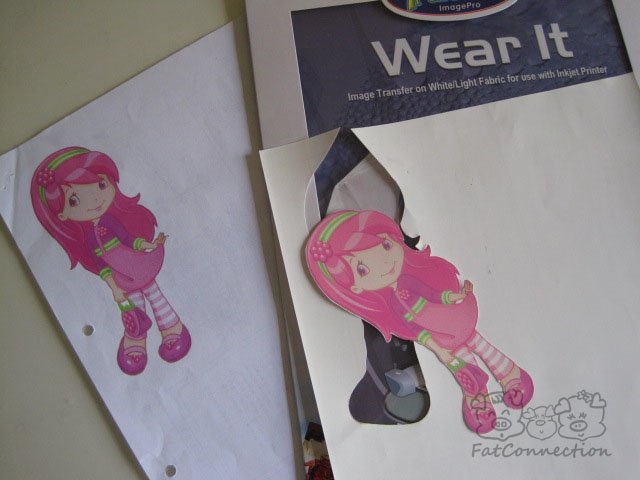
I did a print on a piece of paper to confirm the actual size of my Raspberry Torte. After that, I printed it on an IMAGE/HEAT TRANSFER PAPER for fabric and cut it out.
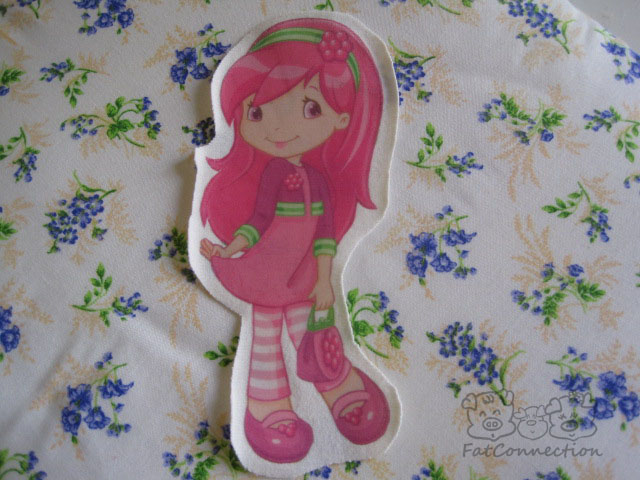
As the t-shirt I'm using has multi-colours, my Raspberry Torte won't look nice if I iron it directly on the t-shirt, (if your t-shirt/bag/whatever is light in colour, you may want to iron the image directly on the t-shirt/bag & ....... ) so I ironed it on a piece of light colour cotton knit first.
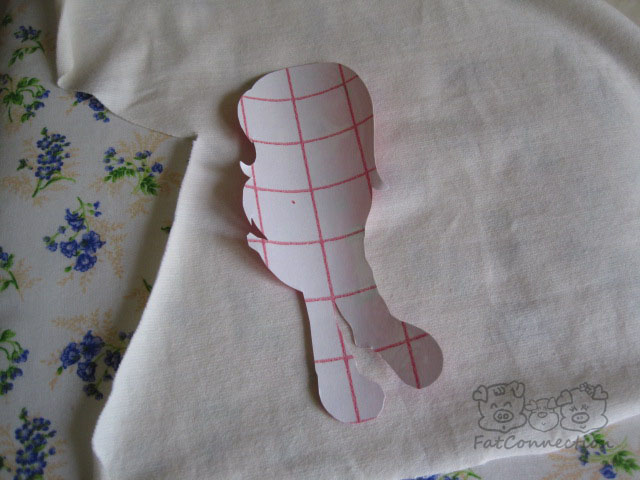
Iron the fabric surface to remove any crease. Put your cut out image facing down on the fabric(as shown). Apply hot, dry iron at light pressure to fix the image in position, then press firmly for about 1-3 mins, making sure to keep the iron constantly moving.

When the fabric has cool down, gently peel away the backing.
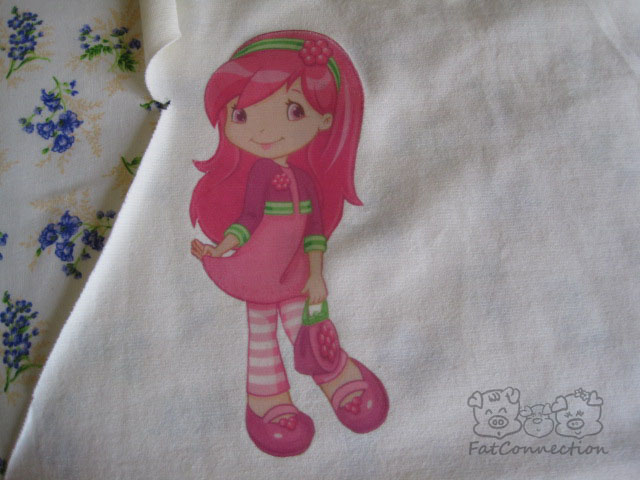
Cut around the image, leaving a brim around it. And we are going to sew this on the t-shirt. Now you can see that the ironed image is actually a mirror image of what we have printed out.
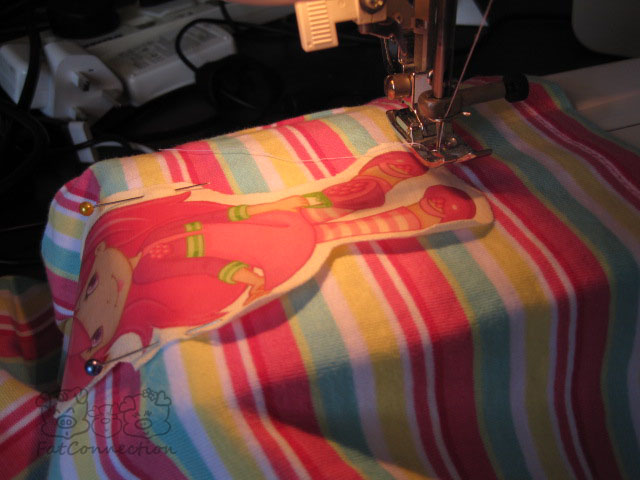
Fix the fabric cut out image on the t-shirt with pins and sew along the edge.

As knit fabric doesn't fray, you do not have to worry about the edges at all. So it's done!
:)
2 comments:
Thanks for the tips I have never thought of doing something like this before, I will hopefully give it a go over the weekend.
I never realized it was this easy! Thanks for the tutorial! Hanhan's shirt turned out really cute!
Post a Comment